|
You are reading the older HTML site
Positive Feedback ISSUE
16
A Simple and Effective DIY Rack
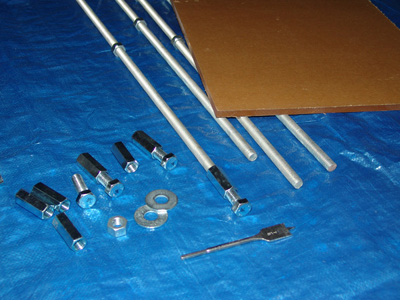
I hate spending my audio budget on things that don�t produce music, like equipment racks. Until recently, I got along quite well with inexpensive coffee tables from Ikea, but they had been in my music room for a while and took up a lot of space. I was ready for a change. The "flexy" rack has been around for some time, both in the commercial market (Salamander Archetype) and the DIY market (tnt-audio.com). The design is excellent and very flexible, as the name implies, but I wanted to make a few changes. I wanted four legs instead of three, and I wanted a bit more class, so I decided to use acrylic instead of MDF for the shelves. I have a great source for many raw DIY materials: http://www.mcmaster-carr.com. This vendor is a real treasure trove of fasteners, tools, plastic, metal, and just about everything else. They sell precut sheets of acrylic in lots of sizes and thicknesses, but I selected .472-inch sheets (18 x 24 inches) that sell for only $23.57 apiece.
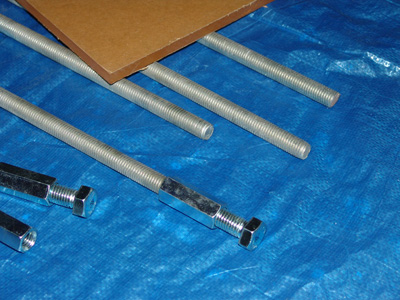
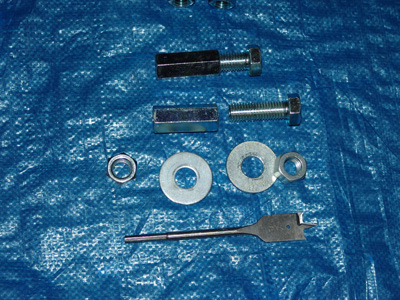
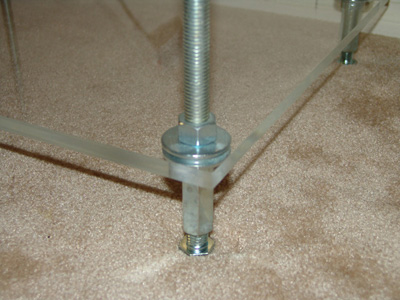
Home Depot was my source for the threaded rods, although McMaster Carr sells those, too. I got four 4-foot long rods, along with forty washers (you�ll need eight for each shelf) and forty 3/4-inch nuts (again eight for each shelf). The construction is nut�washer�shelf�washer�nut on each rod. You will also need a drill bit. The "spade" type bit for wood is best, and should be 7/8-inch. You will also need some sandpaper in various grits, (100,220, 320, 400, 600, 1000 & 2000) if you want to polish the edges of the acrylic. It�s a little extra work but the results are very well worth it. I also added adjustable feet consisting of couplings and shorter bolts, and dressed the top with more couplings. These are optional.
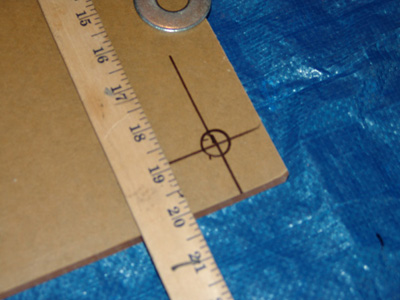
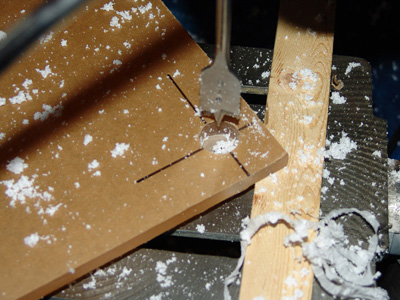
Once you have gathered your materials, it�s time to bore the corner holes in each sheet of acrylic. Do not remove the protective paper! This is done dead last. First, very carefully measure the location of the hole. It must be in the exact same place on each sheet so that all the sheets line up when the rack is assembled. I used a yardstick and made an intersection at each corner, which served as my drilling mark. A drill press is helpful for boring the holes, but not strictly necessary if you have a steady hand. I warn you that this is a messy process. The drilling will create a lot of plastic shavings, so do it outside and use something to catch the mess. Drill each shelf, taking time to make sure that the holes are in the exact same location on each shelf. The wood bit will keep the acrylic from cracking if you take it slow and steady. Plastic is much softer than steel, so the slower the better. Once all the shelves are drilled, it�s time to polish the edges. This gets rid of any saw marks and makes the edges clear and bright. A powered finish sander will make the job easier. Again, the job can be done without one, but it will take longer and be harder on your hands. Start with the 100 grit and sand each edge until any marks or roughness are gone. Next use the 220, then the 320, then the 400. You will see the edge getting lighter and clearer each time. Follow with the 600 and the 1000. The 1500 should complete the polish, and the edges should be as clear as the rest of the acrylic. You can now peel off the paper and clean the acrylic with a soft cloth.
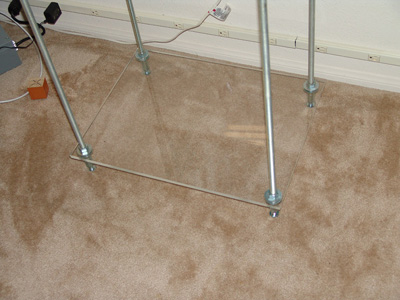
Now the assembly begins. A yardstick will come in handy, and a level is fairly critical. Build from the floor up and level each shelf. Time spent here will insure a rock solid rack. I used adjustable "footers" on my design, so that�s how I started. If you are just using the rod ends, thread a nut on each rod, slip a washer over it, then insert the rod through the shelf. Follow up with another washer and then a nut. Level everything and your foundation is ready!
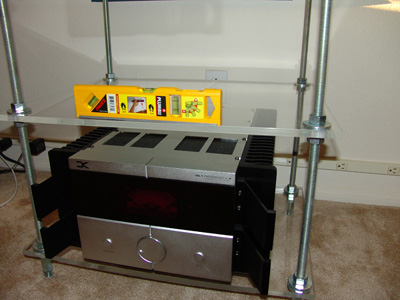
Thread another nut on each rod where you want the spacing of the next shelf to be, follow with a washer and then the shelf. Another washer and a nut locks it together. As you add each shelf, the rack will get stronger and stronger. Be sure to level each shelf as you add it. Adjusting them at this stage is much easier, and ensures a dead level rack when completed. I also placed a component on each shelf as I went up. The weight helped settle and steady the assembly and made leveling it a snap.
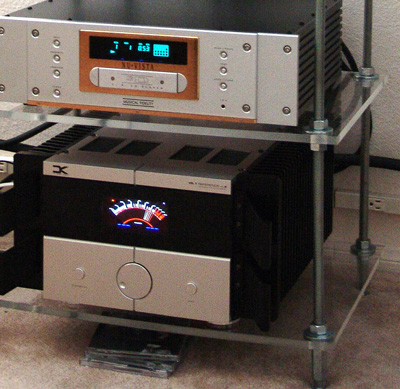
My DIY rack looks great, and had a side effect I didn�t expect. It sounds great, too! Imaging is improved, and the soundstage snaps into focus as never before. This may be due to reducing the mass between the speakers. My old rack was wide and massive, while this one is high and more "delicate." I don�t know why, but the effect, both in appearance and sound, is dramatic. Ed Morawski |