|
You are reading the older HTML site
Positive Feedback ISSUE 60
The DIY Chronicles 2012: Wire It Up and Fire It Up!
The Intact Audio Autoformer Volume Control:
Incredible Value, Stunning Sound
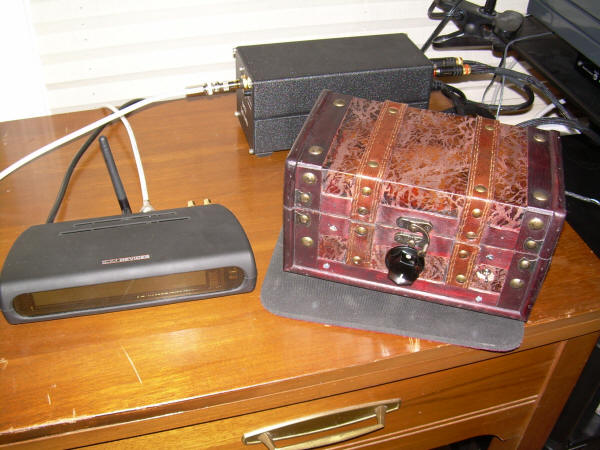
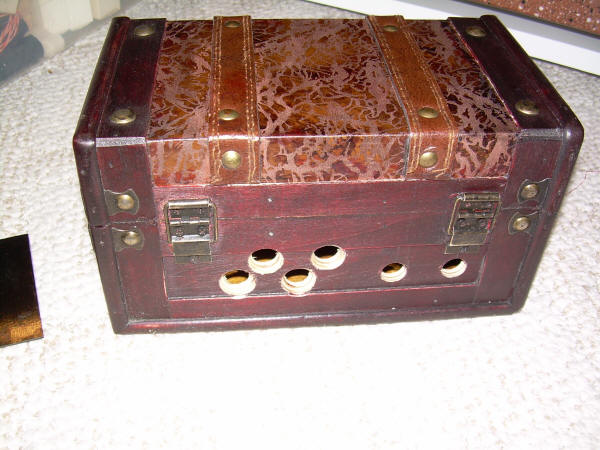
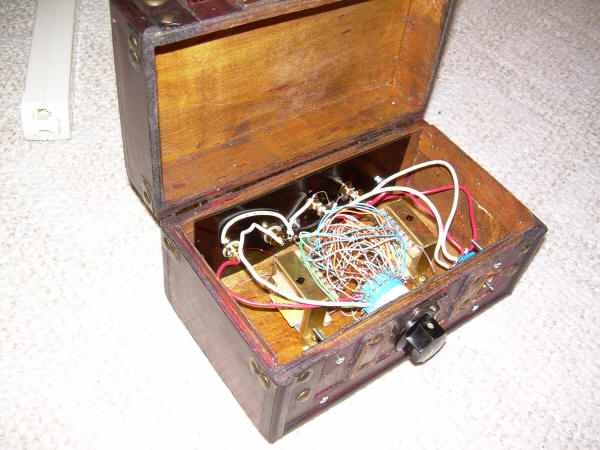
Some time ago, I began to explore a new audio hobby—learning to "build" audio gear. (Assembling is building, right?) As I explored options, I read so many good things about David Slagle's Intact Audio Auto Transformers; that they were an easy choice for an entry-level DIY project. For $220 dollars plus shipping, I received two custom wound 14 step autoformers, a coil of magnet wire for hookup, and a 24 step two-deck rotary shorting switch. I placed them all in a drawer to be protected from my own stupidity until I found time to complete my new venture. That was nearly five years ago. In 2012, with renewed passion for audio, I decided it was time to pull the "Slagleformers" from their hiding place and begin my first project since 2008. Simple? You betcha! I studied the wiring information on the Intact Audio website http://www.intactaudio.com/ and drew out a one-line schematic of my unit for reference. While this is a simple build, for me it is always helpful to draw it out, as it underscores what I know with certainty versus what I have assumed. (Translation: As dad used to say, "Measure twice, cut once." It lessens the chance of a Dumbass Attack from 100% to only 91.345 %. Approximately.) I rummaged through my parts drawer and found a nice pair of Vampire RCA female chassis jacks to serve as outputs. I also grabbed some 20ga. copper hook-up wire for the input/output connections. But in lieu of the minuscule magnet wire, I decided to use Belden Cat 5 plenum cable stripped out into single Teflon-coated 24ga. solid copper wires to connect between the autoformers and the rotary switch. This was a decision made in deference to my fumble-fingered lack of soldering skills and worsening eyesight. Because I didn't have all the parts needed to complete the unit, I made a quick trip to the local Shack for two pairs of RCA input jacks, a DPDT On-Off-On switch for dual input switching, and a large knob for the front mounted rotary volume control. At some point, I plan on replacing the input jacks and selector switch with higher quality parts, but for now these will serve my needs. Still requiring an enclosure, I popped into the local Hobby Lobby. They were having a sale on decorative boxes and I found a nice "pleather and wood" (Sounds like a men’s cologne huh?) box for $8 dollars. I'd call that a bargain, the best I ever had... (Apologies to The Who.) After gathering tools and parts, I used a ruler and pencil to mark the layout on the outside of the box. Once the layout was done, I drilled the necessary holes in the "chassis" using a range of Unibits. It wasn't very scientific. It was however, a quick and effective method of creating a cheap AVC enclosure. Think low-tech meets fake Pottery Barn.
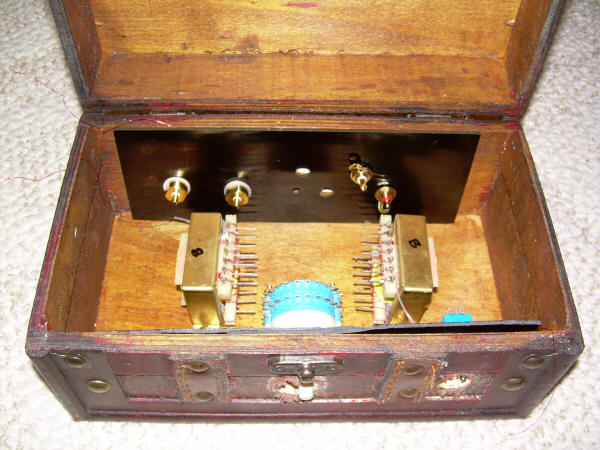
Not wanting to mess with a bottom mounting plate, I still needed to figure out how to support the jacks and switches while allowing ease of wiring. I came up with a neat solution. I found a thin piece of Bakelite that would fit inside the box. I cut it into two pieces; one for mounting the rear RCA jacks and the other for the front mounted rotary volume control and input selector switch. Once wired up, I fastened these mounting panels to the box with small screws and nuts. It worked like a charm.
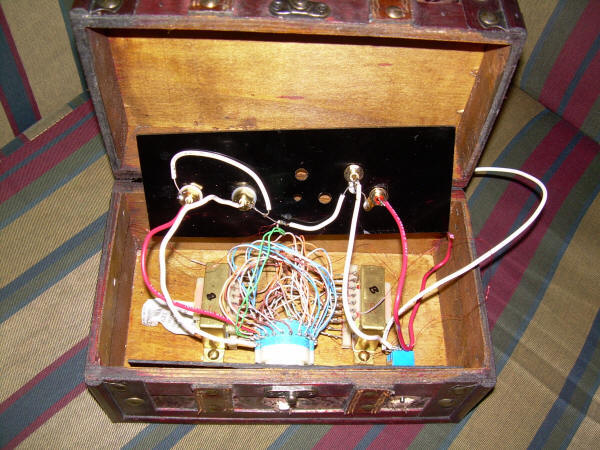
While modest in number of parts, the real difficulty of this build is the number of solder joints necessary in such a small amount of real estate. I knew that with so many wires to contend with, ordering the build correctly and assembling "outside the box" would be a very important thing to do. I tried to visualize the end result and how it would go together. This is time well spent and gave new meaning to the age old audio argument of which came first, the transformer or the switch... As I methodically soldered each wire to the bobbin pins of the auto formers, my choice not to use the supplied magnet wire proved to be a good one. Using my Weller soldering station and Kester 44 solder, the work went relatively fast, but with rusty skills, I needed this repetitive terminating to brush up on technique. (Okay, I don’t have a "technique"—l consider it a job well done if I don't burn a hole in my shirt.) My next move was to solder the wires to the rotary switch. This was made difficult by the close proximity of the terminals. Looping the wires through the terminal holes was the saving grace—otherwise I might still be soldering! Finally, I wired up the signal grounds and then made the connections to the selector switch, output, and input jacks. Looking back, there is only one thing I might have done differently; I would have positioned the autoformers at a 45 degree angle inside the box with the bobbin pins facing the selector switch. But no matter, my initial idea worked just fine.
After a visual inspection, I hooked the AVC to my system just to make sure it worked as advertised prior to bolting the components in the enclosure and voila'... Done! As easy as AVC! (You do realize I could make a Michael Jackson reference here, right?)
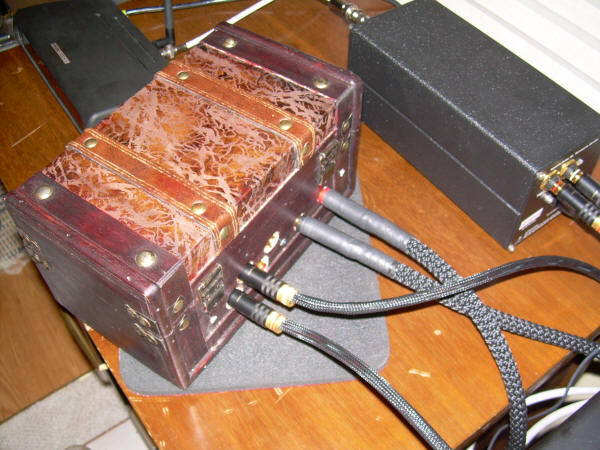
With a total project cost of a tad more than two hundred fifty dollars in material and roughly 8 hours of my time over four casual evenings watching March Madness, the unit appeared to be all business. I predicted then that the Intact Audio Autoformer Volume Control would be a very high bang for the buck project. I was right. The Payoff: All Wired Up, It Must Be Fired Up! My pint-sized AVC has two very minor issues in use. The wooden box weighs next to nothing, which of course means that big, heavy audio cables can drag it around. Adding weight to the bottom of the box and some blue-tack to the furniture slider "feet" I installed will take care of that problem. The other issue is one that many audiophiles deal with at one time or another: Stepped attenuators. I have owned two preamps with stepped attenuators and always had difficulty finding the right volume level. It was either too soft or too loud, never just right. Ahem. The Intact autoformers attenuate the signal from 0db to -42dB in 3dB steps. While that sounds a bit coarse, in operation it proves to be a reasonable amount of adjustment.
Using my Bel Canto DAC2 with its 2 volt output, I guestimate the lowest volume on the AVC to be approximately the same level as 8 o'clock on my active preamp's Alps resistive potentiometer. With the AVC driving my 10-watt tube amp, I can use the first 8 steps before things start to get too boisterous in my 12' x 16' room. This actually creates quite a useable volume range. On the other hand, with my McCormack DNA-1/R1 amp in the mix, I really have little room for control. The DNA-1’s 30dB gain is simply too hot driving my 93dB Omega’s. I would think that a more appropriate speaker mated to the 185-watt muscle of the DNA-1 would ameliorate this difficulty without resorting to digital volume adjustments through my Squeezebox. Fortunately, I have no such issue with LP playback as my George Wright phono preamp has adjustable gain controls for each channel allowing me to set it exactly as I want it. [Reading the FAQ at Intact is enlightening and thoughtful: http://www.intactaudio.com/atten_FAQ.html ] I have not used my current amp or speakers with any preamp other than my Audio Tropic Moebius so even subjective comparisons are impossible. I will say without hesitation, that in my system, the Intact Audio AVC is impressive and I suspect it would rub shoulders with any of the numerous preamps I have had in house. To me, active preamps are an additive equation. In previous comparisons, I found I preferred an active preamp with amps that had built in passive volume controls (such as the Berning ZH270) because I enjoyed the additional measure of life it gave to the music. I appreciate my current Audio Tropic preamp for the much the same reason. Conversely, I didn't care for the VAC Standard Pre mated to the VAC Renaissance 30/30 MKII I once owned, precisely because it added too much rosy glow for my taste. The Intact AVC communicates music directly to the listener with great resolution and passive purity; all without stripping the emotion from fine recordings. The noise floor is so low that details previously obscured are integral to the sonic picture—not just a multitude of highlighted details--but a true part of the musical painting. At first listen it seemed to me the AVC provided a more compact sonic picture than my Moebius, but after a few evenings of listening to many different recordings, I found I was in fact, wrong. The Intact AVC will recreate the recording space in a quite remarkable manner. If the stage is big with lots of depth, you’ll hear it. If it is small and intimate, you’ll hear that too. You'll also hear clearly the differences between bad, good and great recordings, yet even the bad recordings sound good. As a passive, I didn't expect the AVC to be good at large dynamic swings, but with my 845 amp, it is very good. Micro dynamics and inner-resolution are wonderful. Bass is way better than I could have ever imagined. The autoformers don't artificially enhance bass, but if it's on the recording you’ll hear it in glorious fashion. In short, the Intact AVC is an open window to the rest of your system. In the past I have used the oft maligned term of Musical as a descriptor of how a system or component communicates the emotion of music. I arrive at this ultimate compliment by listening to many different recordings over time, but I can give you the 90 percent judgment by doing one simple thing at the outset: Let the music play at low volumes, sit off-axis, do menial tasks, go about the business of the day—even leave the room. If you are continually drawn back into the music, then it is a pretty solid bet (by my definition) that you have a musical component/system on your hands. And by my standard, the Intact Audio Autoformers are musical as all get-out. I've read a few internet posts about audiophiles building active preamp stages using an AVC with a remote control relay system. While the purity of the passive is addictive, the thought of these auto formers remotely controlling the volume of an exceptional tube stage is appetite whetting to be sure. Hmmmmm... a future project perhaps? I have come to appreciate the Intact's high level of performance. During one particularly good evening listening session, this clear impression hit me: The music was simply stunning. So once again, the whole is greater than the parts and the end result is as much about system synergy as it is about hype, reviews, or cost. Building an Intact AVC is relatively easy. In the high-flying world of fine audio, it is a low cost endeavor that yields real high-end/high-value results. It will not be the only volume control I use--I still enjoy my active Audio Tropic preamp too—but it will remain as an important part of my system from now on. It is that good. One evening, while keyboarding part of this article, I sat in the darkness, laptop screen ablaze, listening to Warren Zevon crooning Desperados under the Eaves at Step 1on the dial. The sound was entrancing. So out of curiosity, I got up, walked over to the AVC to turn up the volume. Slowly I turned, step by step. (Apologies to Abbott & Costello). At Step 8, the music locked into a sweet spot. It was riveting and I wondered silently to myself: Why did I wait so long to try these welterweight magnetic wonders? Thank you Mr. Slagle, for winding such extraordinary transformers.
I was sitting in the Hollywood Hawaiian Hotel (Warren Zevon, 1976) *Disclaimer: There are lethal voltages present inside audio equipment, so if you are unaware of the dangers inherent in working with electricity and untrained in safe working procedures, you should not attempt any DIY projects, no matter how simple! I am writing this series of articles for entertainment purposes only and the content within should never be considered a guide or "how-to" instructions for others to build and/or work on audio components. If you are interested in beginning a project, there are many books and other media that cover the basics in a thorough manner. Search them out and use them before you begin!
|